Hip injuries are a pretty hot topic in yoga. Given the extremes that we tend to place our hips during each class, it’s no wonder how and why they get injured. Today we’ll look at a few common mechanisms for injury and how we as teachers or students can avoid them. Towards the end, we’ll also discuss how important the health of your hips is for your whole body.
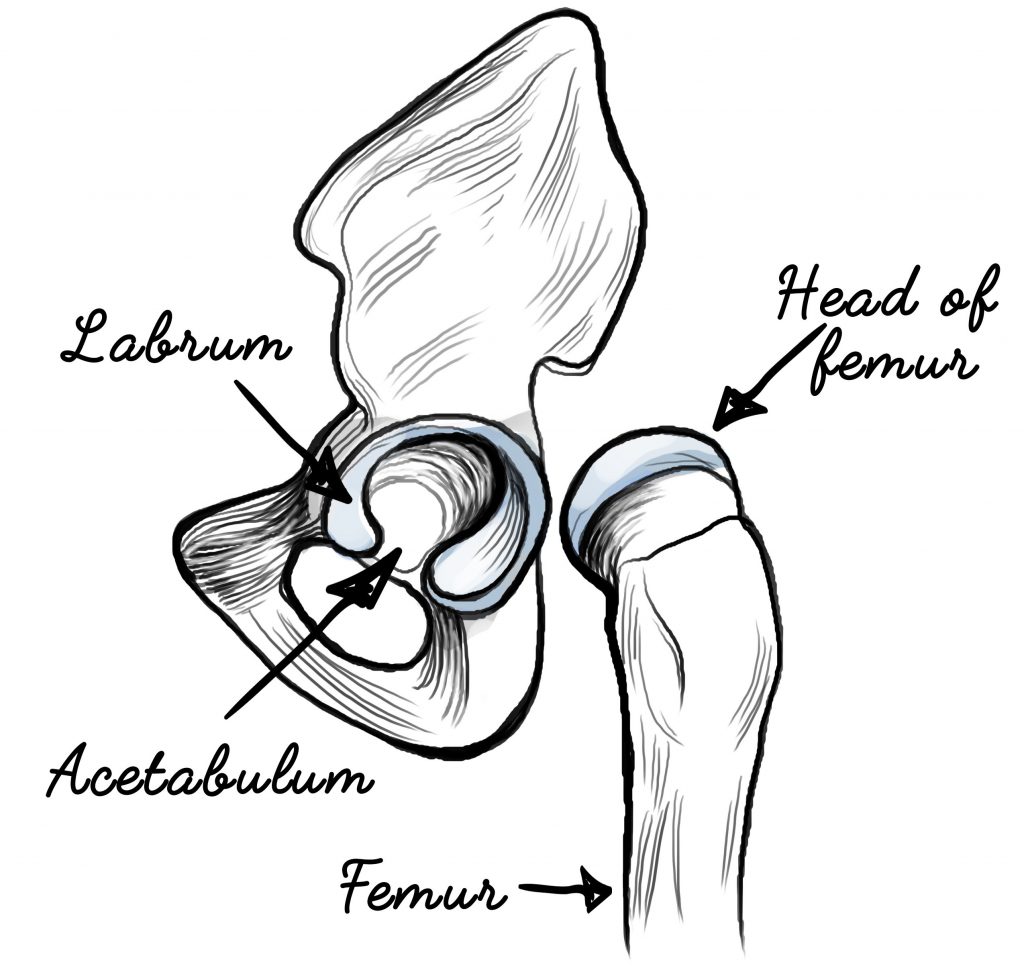
Note that for the sake of simplicity we’ll discuss the hip regarding the femur and the acetabulum in this article. The Sacrum, Pelvis, & Sacroiliac Joint are all major components related to the hip, but there’s a lot of information there so we’ll cover that part in another article soon. 😊
Most common Injury: Wear & Tear
I remember a little while back reading William J. Broad’s article in the New York Times about Women’s Flexibility is a Liability (in Yoga). It was the first time I had been exposed to hip injuries in yoga and how prominent they were becoming. One doctor, Dr. Hyman, said in the article “his typical yoga patient was a middle-aged woman, adding that he saw up to 10 a month – roughly 100 a year.” Now take a step back from that statement and realize that he’s just one orthopedic surgeon in Atlanta, expand that out to the United States, and that’s a lot of people sustaining hip injuries!
So how do these injuries happen? Most of it is simple wear and tear. The hip joint itself is a subject to a lot of “normal” wear and tear, especially on its cartilaginous surfaces. It’s pretty difficult to keep your hip healthy, and the number of hip replacements in both the active and sedentary is a great indication of this.
The hip joint allows for a large variety of movement options. “To create our various movements and to prevent collapse or unwelcome movements, around twenty muscles – large and small, and many of them basically triangular in shape – act within the fascia and the ligamentous bed to create or prevent movement in a harmonized symphony that changes from second to second throughout our moving day” (Tom Meyers, Fascial Release for Structural Balance)
Many movements are created by or stabilized by your hip joint!

A hip joint that is constantly being thrown into extremes ends up damaging the cartilage, or the cushiony surface that lines our joints. Eventually, this cartilage becomes inflamed or irritated, and we start feeling pain. Joint inflammation, arthritis, if it goes unchecked can eventually become severe and then possibly progress further to a hip replacement.
So how do we keep our hips from too much wear and tear? Simple moderation. Become more aware of the ranges, especially the extreme ones, that you put your hips in.
Poses like Triangle, Deep lunges (e.g., Crescent Lunge), Standing Forward Folds without the knees bent, etc. can throw your hips into some pretty deep places. Is it necessary to go that deep? Probably not. It may feel good at that moment, but too many of those I’m-deep-in-the-pose-feel-good-moments can equate to a lot of chronic & constant pain later.
I understand the desire to go deep into a pose. It’s that quest we’re all on to feel something in a pose/stretch. For many of us, especially the hypermobile/hyperflexible folks, the art of co-contraction can revolutionize a yoga pose. Each part of your body should be active in just about every pose, especially the opposite side to what you are stretching. [For example: in a seated forward fold contracting your quadriceps (front of the thighs) can deepen the sensation of stretch for your hamstrings (back of the thighs) without requiring you to fold much deeper].
Instead of going into the vast depths of a pose you can also try contracting the muscle that is being lengthened or stretched.
“Contracting your muscles as you stretch them will teach you to be more comfortable at that range of motion”
Once your body achieves a healthy level of mobility the sensation is no longer about the feel-good stretch, it shifts to comfortability and stability. That helps keep us safe & resilient so that we can keep practicing yoga injury free.
A lot of these poses that place the hips into extremes tend to feature a straight knee. As we learned in the first article on knees: Always keep a bend in your knees! In these deep stretches, it will take less stress out of the cartilaginous surfaces of the femur and acetabulum.
Hip Impingement & Labral Tears
Something a little less common, but still prominent in yoga is Hip Impingement.
“Femoroacetabular impingement (FAI) occurs in the hip joint. Impingement refers to some portion of the soft tissue around the hip socket getting pinched or compressed. Femoroacetabular tells us the impingement is occurring where the femur (thigh bone) meets the acetabulum (hip socket).”
-Definition provided by Houston Methodist Orthopedics.
In a lot of the movement in yoga, it’s common for things like muscles/tendons or the labrum, cartilaginous rim around the hip socket, to get compressed. Compression of these soft tissue structures is typically caused by bony outgrowths, like bone spurs. This extra bone creates abnormal contact between the hip bones and prevents them from moving smoothly during activity. Over time, this can result in tears of the labrum and breakdown of articular cartilage (osteoarthritis)

There are three kinds of Hip Impingement:
- Pincer. This type of impingement occurs because extra bone extends out over the normal rim of the hip socket. The labrum can be crushed under the prominent rim of the hip socket.
- Cam. In Cam impingement, the femoral head is not round and cannot rotate smoothly inside the hip socket. A bump forms on the edge of the femoral head that grinds the cartilage inside the hip socket.
- Mixed. Both Pincer and Cam types are present.
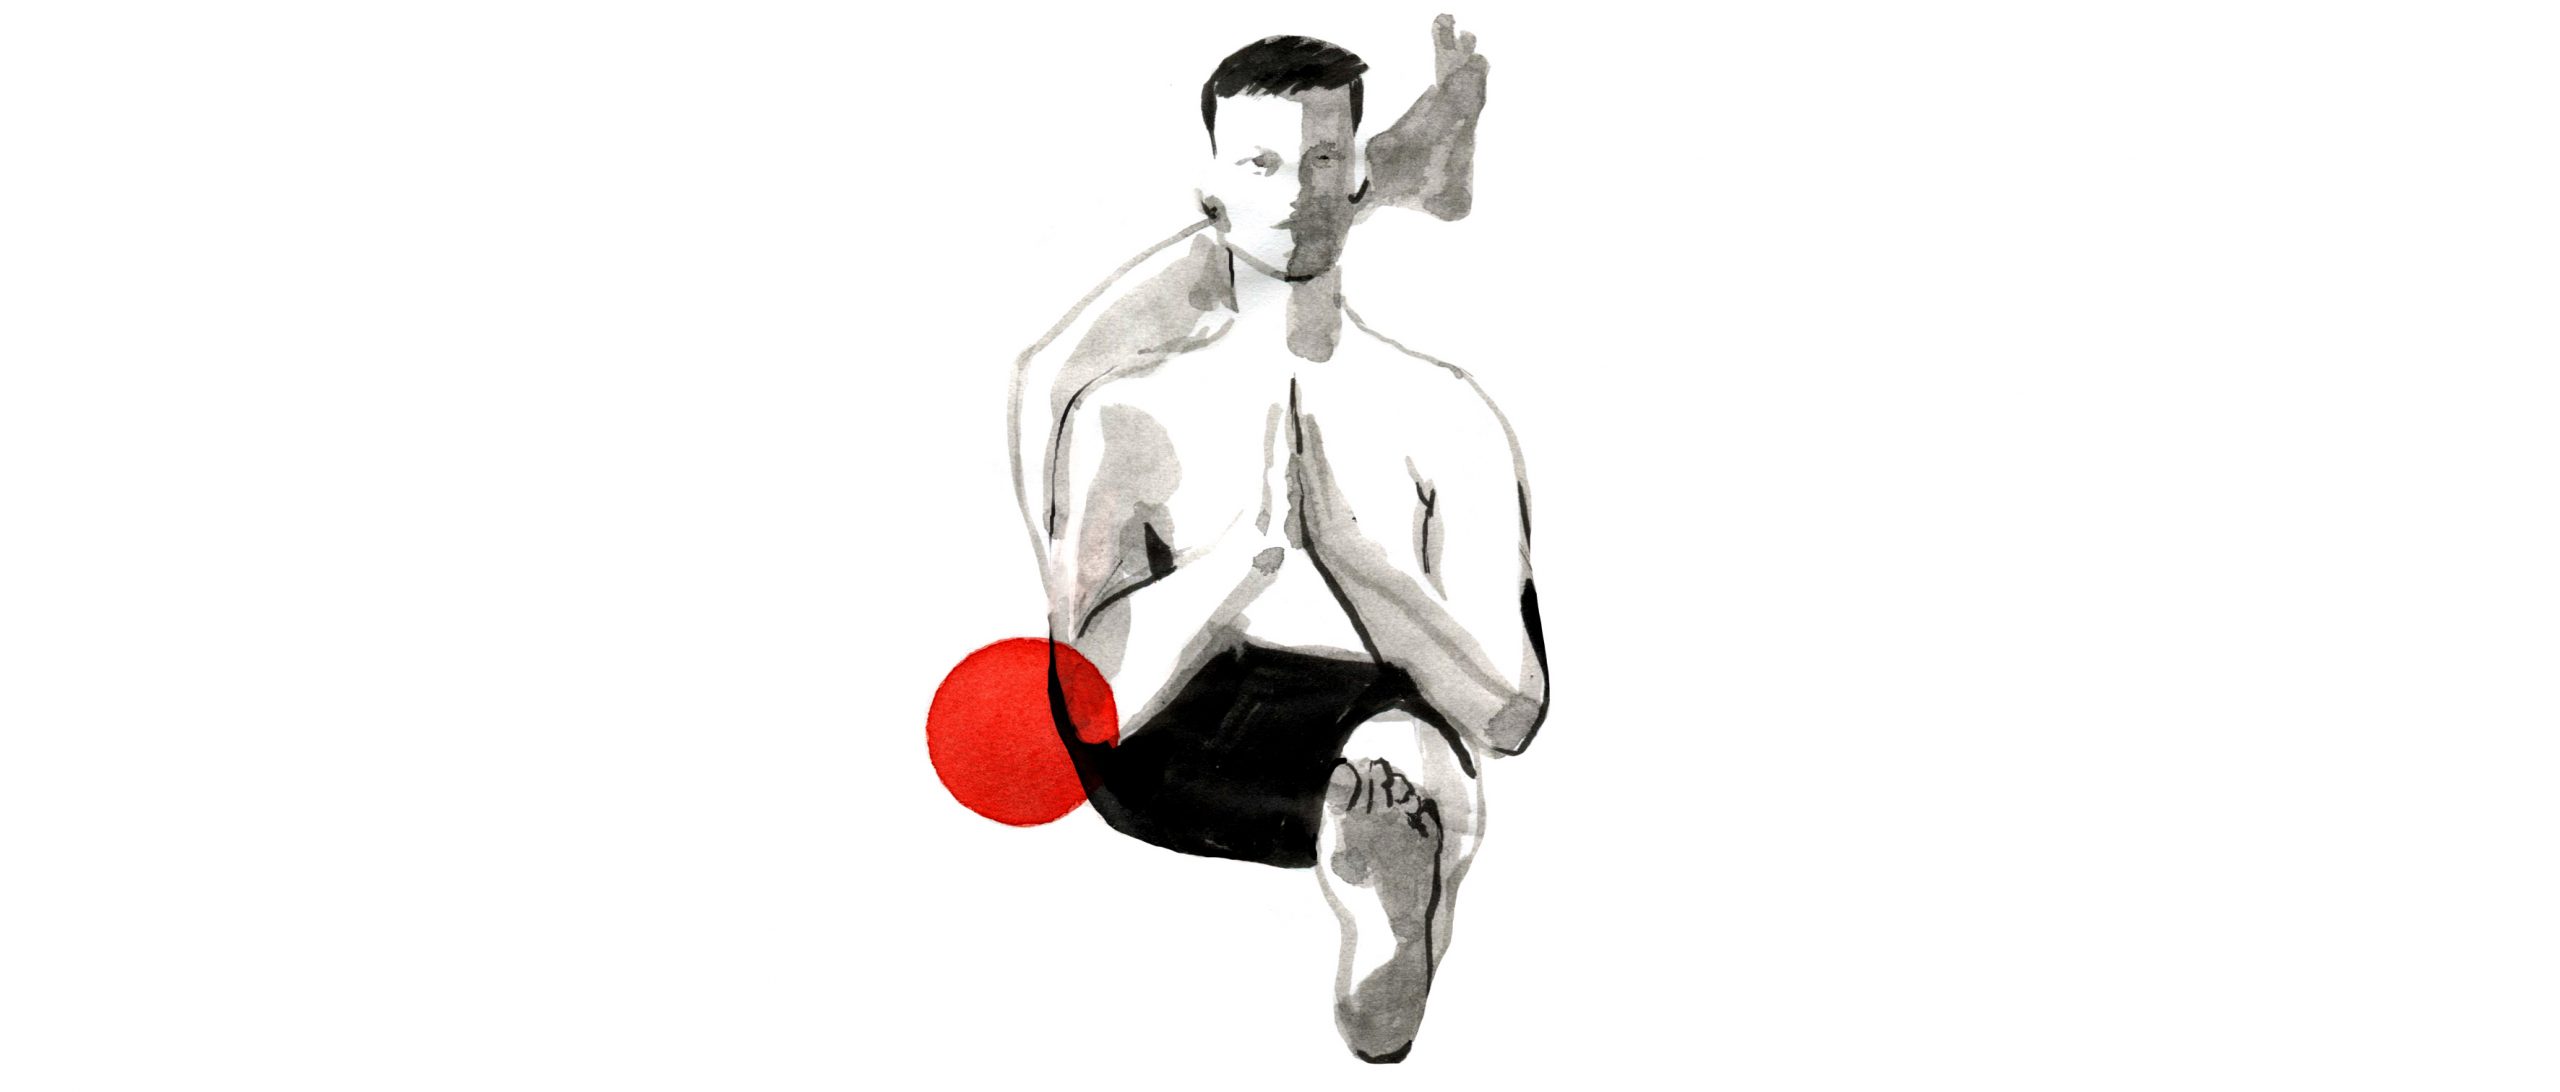
You’ll recognize impingement by a snapping or popping sensation in the hip. The pain, popping, or snapping can become especially prominent with deep hip flexion (like a squat) or circumduction (moving your knee around in a circle).
One way that I learned to assess for it is to stand on one leg. Lift your other leg and perform a circle with your lifted knee. If you feel any snapping/nagging/pain that may indicate impingement. Note that the only way to diagnose this condition is with imagining like an X-ray or MRI. If you do experience any of these symptoms, you may want to seek medical care from a manual therapist. Impingement can often be managed conservatively with exercise and lifestyle modifications. If it persists and goes neglected, it can lead to arthritis and an eventual hip replacement or surgery.
If you feel pain or a snapping sensation in your hip, notice the movement or the yoga poses where you feel it and do your best to modify and avoid them. A lot of the exercises most beneficial for hip impingement involve decompressing the hip with resistance bands & rehabbing the muscles that stabilize the hip like the gluteals. Here’s a great article that covers a lot more on this topic.

The Importance of Healthy Hips
Ida Rolf called the hip “The joint that determines symmetry.” Your whole torso perches atop the two balls of your femurs. (Stop for a second and re-read that, it’s a pretty powerful statement!) Along with the pelvis, the hips are constantly moving and adjusting so that we are balanced and stable. Remember that their purpose is to support us and keep us moving, not look pretty in a crazy yoga pose or be stretched deep all the time. If you often go outside of their anatomy and function, then, unfortunately, you run the risk of hurting them.
A quick and easy way to assess your hips is the Sit-Rise Test. Check out this youtube video. (The guy in the video looks so stiff! Maybe someone can teach him some yoga haha).

It’s crucial to warm up your hips too. Their mobility directly affects the function of your knees and lower back (two not very mobile but stable areas). A new standard in the management of low back pain is assessing and restoring hip mobility. If you have back pain, do some mobility work for your hips – I guarantee it will help at least a little bit.
Now here comes something that may sound a bit blasphemous to a yogi: when it comes to warming up your hips, deep stretching, and even yoga may not be the best. Static stretching is not the best warm up.
Static stretching will create little to no change in the muscle or the movements that they control in the short or long term.
Dynamic stability is the new mobility. Small controlled movements of the joint in all ranges of motion is the best way to warm up. It helps to activate the muscular chains and systems of proper activation, balance, support, and stability. It also enlivens the brain, as there is much more sensory information being sent to the cortex. When your brain is getting a lot of feedback, it’s paying more attention, and you are much less likely to get injured. More neurons = more stability = safer/efficient movement.
This kind of warm-up is what enables us to do our yoga poses within the limits of our strength and mobility in a safe fashion. It involves the use of our core, breathing, and active range of motion around the joint.
- They also help to establish a neutral pelvis, which allows for better movement from the hip joint.
- It will serve as a “reset” to muscle tone around the hips. Often, the body realizes it does not have the needed stability around a joint due to muscle weakness. The body’s response is to increase the tone in a muscle to provide some false-stabilization. The hip flexors (like the hamstrings) are a muscle group that often feels tight in athletes. With proper core stabilization movements, this increased muscle tone instantly vanishes, and mobility problems are gone!
Exercises for the front & back (flexion/extension) of your hips:
Reverse Active Straight Leg Raise

- Lay on your back, extend one of your legs to the sky and one of your legs forward. Keep your back on the mat and hover the leg that is on the ground. Slowly switch your legs, lower your leg in the sky with control and when they are next to each other slowly lift your other leg to the sky.
- Note when you lift you should feel the front of your thigh actively lifting your leg upwards. When you lower it, you should feel the back of your thigh controlling your descent. This sensation may not be evident in the beginning, but it will start to develop with time and consistency.
Supported Hamstring Bridge

- Stack two blocks at the top of your mat and lay down on your back. Position your butt so that you have a generous bend to your knees. It’s crucial to bend your knees, and you may need to play with finding a bend that feels good for you. Plant both heels on your blocks to assure your body is centered. Lift one leg to the sky and then press into the heel on your block to lift your hips. Focus on the pressure through your heel and the lift of your hips towards the sky.
- [Optional] Keep both legs on the block and focus on squeezing your glutes to lift your hips a little higher.
- This movement is difficult and engages just about every muscle in your posterior chain, or back body. You should feel this in your calves, hamstrings, glutes, and maybe your lower back (pending how high you lift) on the side that’s on the block. I like to tell people the only real thing on the mat here is your ribcage or chest.
- Customize: The closer your heel is in towards your body, the more glute activation. Conversely, the further your heel is away from your body the more hamstring and calf will be activated. You can also do this on the mat, or with just one block. The two blocks can be a little difficult for some.
Exercises for the inside and outside edges (adduction & abduction) & rotators (internal & external) of your hip:
Table Top “Fire Hydrant” Knee circles

- In Table Top pose lift one of your legs out to the side. Keep your hip stacked over your knee on your other side and your hands over your shoulders to stabilize your core. Begin to circle your knee that is out to the side slowly. The circles can be big or small. The goal is to move and actively engage with all the muscles of your hip, especially the outer side hip muscles like the gluteus medius.
- [Optional] At the end of these circles hold your knee out the side as high as what’s comfortable and for a count of 4.
90-90-90 against the wall with internal rotation.

- Lay on your back with your feet on the wall. Your knees should stack over your hips. Take a block between your knees and widen out your feet (so that your legs look like a letter M). Add a slight squeeze to your block and lift your foot off the wall and out to the side. Lift through your pinky toe. Alternate your feet breath to movement: inhale lift your foot out, exhale plant your foot. [Do around 10x each side.]
- Note that you probably won’t be able to lift that high. Some people barely get their big toe off the wall. You should feel this in your outer hip (glute medius is the target muscle here, we are training it to control and move in and out of hip internal rotation)
- [Optional] squeeze the block between your knees a few times in the beginning to activate your hip adductors.
Disclaimer: if you partake in these exercises they should be relatively comfortable and also pain-free. If they cause pain or any discomfort, please modify so that they don’t, or do not do these exercises.
These exercises make for a great warm-up or strengthening for the muscles of your hips. All of it is active and intended to strengthen & engage the muscles to keep your hips in a safe range.
The biggest take home from all of this is stay active in your yoga poses! If you are actively contracting your muscles in a stretch or as you move into a pose, it’s hard to place your body into an extreme where it can get injured. If you do like the deeper poses, please practice them in moderation and counterbalance them with strengthening exercises. Doing deep stretches feels good at the moment, but may equate to some pain in the future.
Thank you for reading & Namaste!
Dr. Garrett

Illustrations by Ksenia Sapunkova.